
Blog
Breaking the Thermal Bridge – GreenBuildingAdvisor
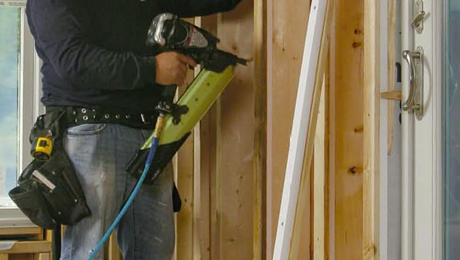
First appearing in Fine Homebuilding, issue 250 (April/May 2015), Stephen Bonfiglioli’s “Breaking the Thermal Bridge” highlights a practical strategy for addressing one of the persistent weaknesses in conventional wood framing: thermal bridging through studs. As interest in higher-performing building enclosures continues to grow, the simple approach described in this article still offers a useful example of how thoughtful detailing can improve wall performance without adding excessive cost or complexity.
You might say I’ve always been ahead of the curve as far as building performance goes. When I started building in 1977, my houses had 2×6 walls and R-19 insulation, while code-built homes had 2×4 walls with R-11 insulation. Other builders, subs, and suppliers said I was crazy for installing more insulation than the building code required, but I’ve always thought that building energy-efficient homes made perfect sense. In my quest for efficiency and comfort, I tried just about every high-performance wall assembly there was, all of which seemed overly complex and expensive. Then one day 12 years ago, I asked myself, “What if I fur out the interior wall with strips of rigid foam and strapping?” I reasoned that the foam strips would address thermal bridging, add thickness to the wall to accommodate high-density fiberglass batts, and cost less than alternative methods. I have been building my walls this way ever since.
Foam selection
I assemble lengths of 1-in.-thick high-density expanded polystyrene (EPS) foam and 1×3 strapping picked up from my local lumberyard. While the strapping is readily available, the high-density foam isn’t always a stock item, so I buy my foam from Insultech in Bridgewater, Mass. This foam resists compression more than regular EPS, and it comes in convenient 1-1/2-in. by 4-ft. pieces. Alternatively, I could cut full sheets of rigid foam into 1-1/2-in.-wide strips on a tablesaw.
While it may appear to make sense to use extruded polystyrene (XPS) or polyisocyanurate insulating strips, both of which have higher R-values, R-value matters very little in this application. EPS is the least expensive type of rigid foam, and with an R-value of R-4 per in., it creates enough of a thermal break to sufficiently slow heat transfer through the framing.

Speed and strength
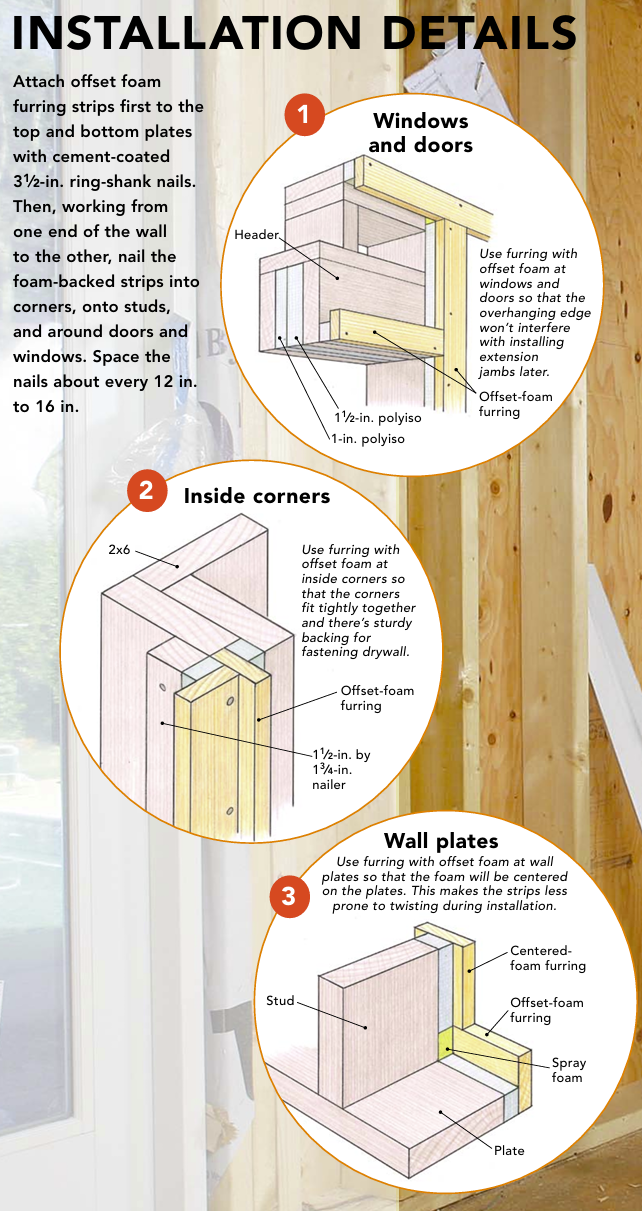
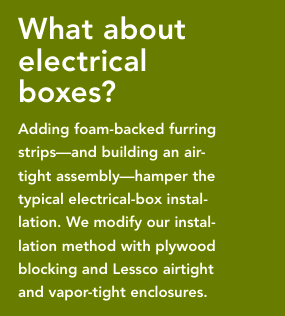
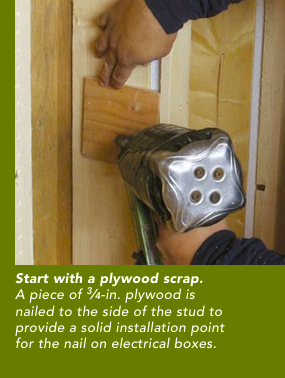
Once we have a new house dried in or a remodel gutted, we can add the foam strips to an entire 3000-sq.-ft. house in a day or less, saving us considerable time and money when compared to more-complicated wall assemblies. Also, because the foam strips are covered with 1x3s, drywall and trim can be installed with conventional fasteners instead of using long nails or screws to find the framing behind the foam. The 1x3s also allow the homeowners to hang pictures and shelves more easily later on.
Don’t forget the air barrier
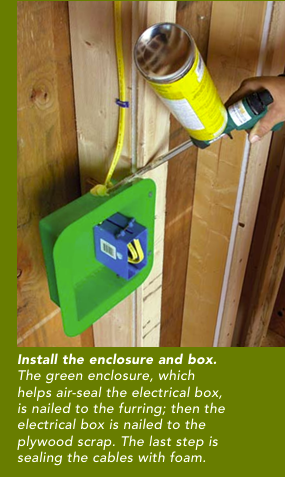
Air-sealing is paramount when using fiberglass batts (see “Making Fiberglass Work,” FHB #246), so we fill any holes or gaps with spray foam before installing the high-density R-30 batts. We’re careful to fill the stud cavities completely with minimal compression.
Our locality requires vapor retarders on the interior-facing side of exterior walls, so we use MemBrain vapor retarder in combination with air-sealing tape and acoustical sealant to create a complete air barrier that prevents warm interior air from condensing in the wall cavities during the winter. MemBrain is a so-called smart vapor retarder with a permeability that increases as humidity rises to promote drying. To ensure drying to the exterior, we complete the assembly with plywood, carefully detailed housewrap, and wood siding.
Cost comparison
My wall is much less expensive than alternatives such as SIPs or exterior foam. Labor and materials—including the foam strips, strapping for attaching trim and drywall, and batts of high-density R-30 fiberglass insulation—cost $1.50 per sq. ft. of living space. For comparison, installing 1-1/2-in. or 2-in. rigid insulation over plywood or OSB sheathing and adding blocking or furring for windows, siding, and trim costs more than $3 per sq. ft. of living space.
Stephen Bonfiglioli is a builder in Middleboro, Mass. Photos by Patrick McCombe. Illustrations by Vince Babak.
This article originally appeared in Fine Homebuilding issue 250, April/May 2015.
Weekly Newsletter
Get building science and energy efficiency advice, plus special offers, in your inbox.